

Happy Tuesday everyone!! This week’s tip is another kit organization idea to help keep all of your paints tightly organized in your kit!
How-to’s
Happy Tuesday everyone!! This week’s tip is another kit organization idea to help keep all of your paints tightly organized in your kit!

Happy Tuesday!!! I took a little hiatus from our Tuesday Tips at Ten there over the holidays…partly because of holiday busy-ness of gigs, hosting family & my son’s 16th birthday & driver’s exam, partly because I ran out of tips (ha!), and partly because our sweet, goofy Great Dane “Wahoo” passed away unexpectedly at just 5 years old, sucking away some of my Christmas spirit and motivation! BUT, I’m happy to say we have adopted a new fur baby (Teddy the Sheepadoodle) just in time for Christmas, all the holiday activities have died down, and I have a couple more tips in the hopper! SO, this week I bring you a tip for labeling your paints! Who doesn’t want to get their kit more organized in the new year?! Next week I’ll continue with another good tip for organizing your paints in your kit, but for now, here’s how I’ve labeled my paints in the past and currently!
Also, in case you missed it, since I’m taking a break from Wet Paint Magazine, I’ve brought back my free monthly e-newsletters! This month’s newsletter on the topic of self confidence as an artist has already gone out, but you can subscribe to future issues or download past issues here!
Here are some Amazon (affiliate) links related to this video…
Dymo label maker: https://amzn.to/3TKYm82
Label refills: https://amzn.to/3Sbedf1
Label maker storage cases: https://amzn.to/41Oapn4
White paint pen to label black cake containers: https://amzn.to/3tM7BtX

Happy Tuesday! Here’s a little trick I used when painting a Christmas sweater on my son a couple days ago for my Christmas cards! I love that he still lets me do this! This year I used a lot of fun stencils to speed up the process, and finished it all in 1 hour and 20 minutes (photo below). Have a happy Thanksgiving everyone!


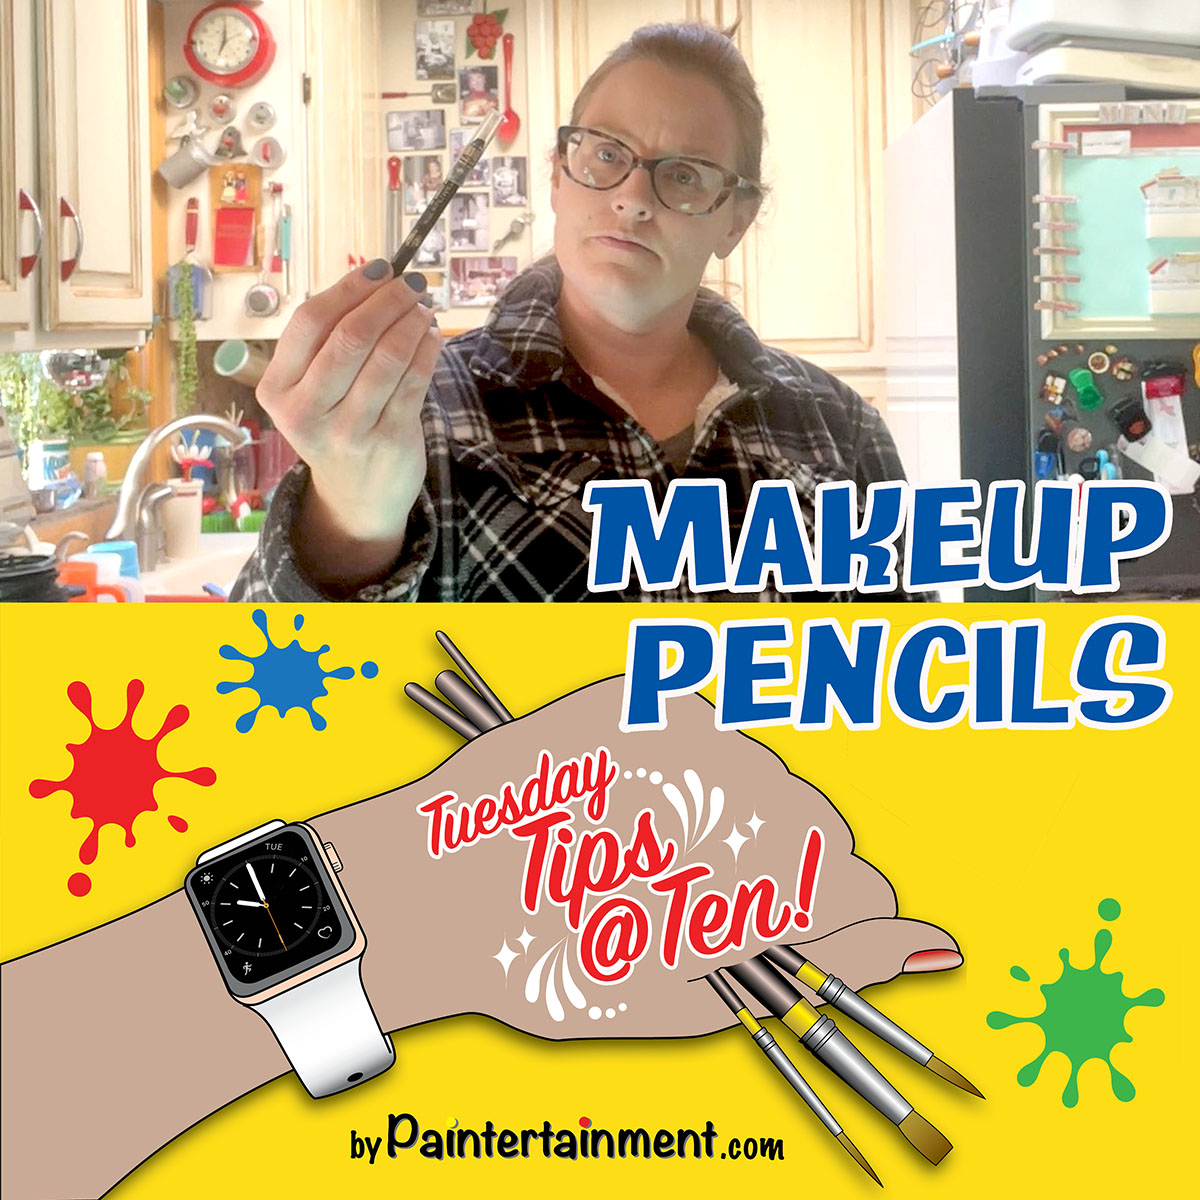
Happy Tuesday! Here’s a tip for getting a crisp, clean point on your makeup pencils!


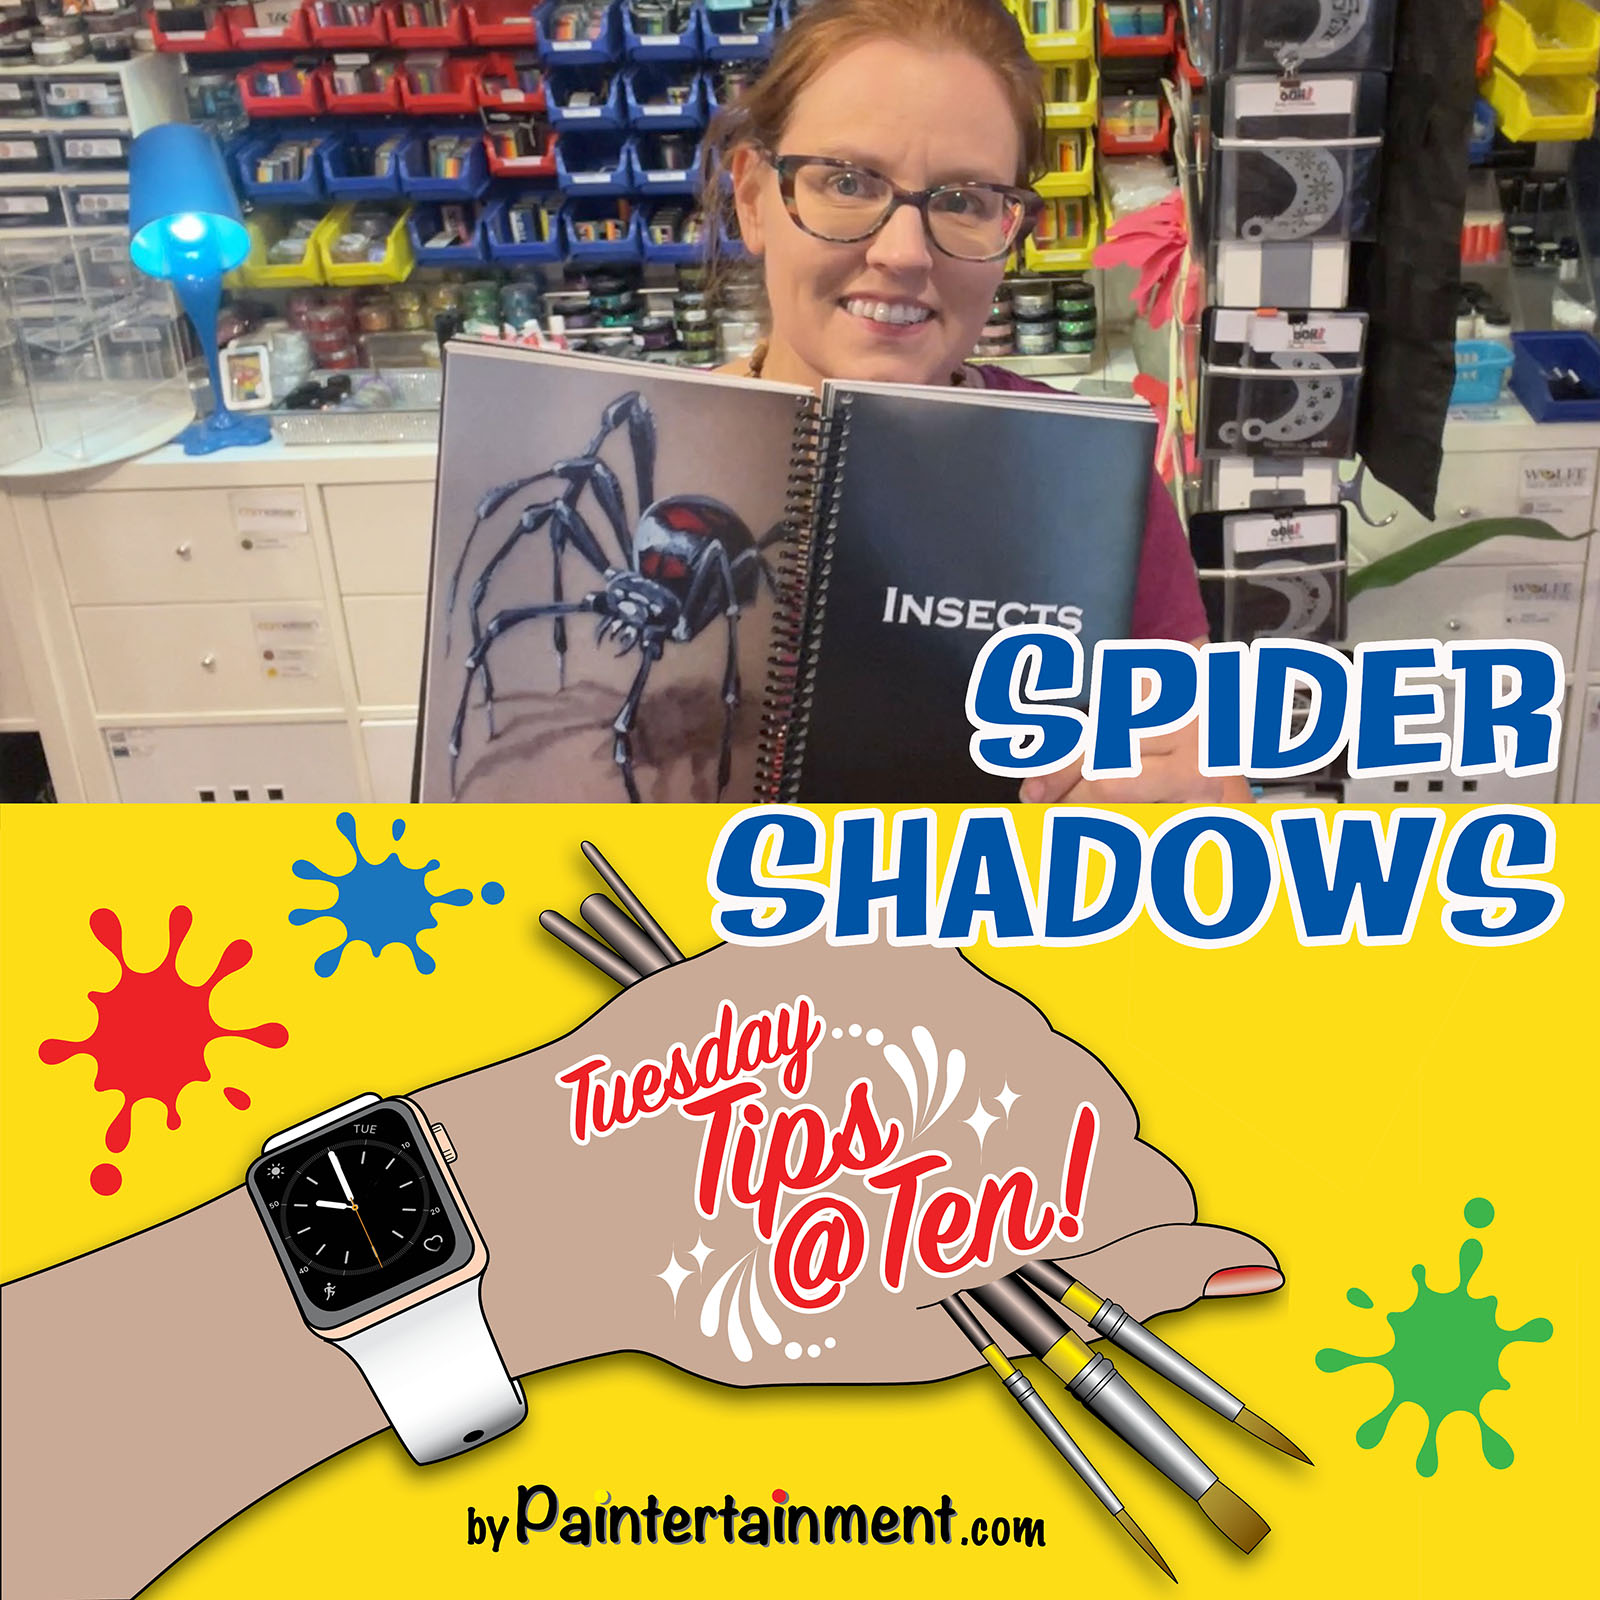

Happy Tuesday! Here’s a tip for shading those spindly spider legs!


This one looks really detailed but stencils make it super quick! First I laid down a base with a sponge and a Tiger cake for a sunset background. Next, I used an Ooh! zombie arm stencil and mini kabuki brush to add the arms! The branches are actually done with a Christmas stencil that we sell. Then, using a round brush loaded with black, I added a little hanging bat in a tree (totally optional), some scraggly looking grass, and used a dry Cameleon blending brush to drag it down and fade into the forehead. The blood splatters I did using just a portion of a BAM 1415 splatter skull stencil, and then topped that off with some liquid bling!
I’m SOOOO upset right now that my most FAVORITE mini kabuki stencil brush has been discontinued by the manufacturer…I am working on sourcing some new ones and hope to have them up on the site SOON! Follow our Facebook page for updates! They are an absolute game changer for me when it comes to stencils…stay tuned on that!


Here’s another quick line buster design for Halloween…a butterfly-like spider design! First, lay down a base of your favorite tiger split cake with a petal sponge. Then, add some quick webs with black and a round brush. Use a spider stencil too if you like! Finish it off with some white highlights and Vivid Gleam orange glitter cream!


Happy Tuesday! Today I’m going to share a cool tip that I learned from my friend Anita Beal! This cool trick makes it so much easier to see what glitter colors are in the poof bottles!


Happy Tuesday! Here’s a little idea I came up with to keep all of my payment methods easily within reach, in an analog format!
Happy Tuesday! Here’s a video version of an old photo tutorial I did years ago on how to do rainbow unicorn horns quick and easy with a one stroke brush!


You must be logged in to post a comment.