Posted on Leave a comment

Tuesday Tips @ 10: Stencil Trick!

Happy Tuesday! Here’s a little trick I used when painting a Christmas sweater on my son a couple days ago for my Christmas cards! I love that he still lets me do this! This year I used a lot of fun stencils to speed up the process, and finished it all in 1 hour and 20 minutes (photo below). Have a happy Thanksgiving everyone!

Posted on Leave a comment

Tuesday Tips @ 10: One Stroke Unicorn Horns

Happy Tuesday! Here’s a video version of an old photo tutorial I did years ago on how to do rainbow unicorn horns quick and easy with a one stroke brush!

Posted on Leave a comment

Tuesday Tips @ Ten: Super Easy Snowflakes!

Happy Tuesday! Today I’d like to share a great tip that I learned from my artist friend Linda John! I’ll show you her cool trick for making super easy snowflakes without using any stencils or even a brush!

Posted on Leave a comment

Tuesday Tips @ 10: 6 Ways to paint Fireworks!

Happy Tuesday and happy independence day!! Today I thought it would be fitting to show you 6 different ways to paint fireworks!

I hope you have a fun filled day of painting patriotic designs…please feel free to comment and share what YOU painted this year!

Posted on Leave a comment

Tuesday Tips @ 10: Shading the Death Star (or a Sphere with a Dimple)

Happy Tuesday! Since Star Wars Day is just a couple days away, this week I decided to incorporate a Death Star design into my tip! The death star is a perfect example to show how lighting and shadows change on a convex sphere, vs a concave dimple. Check out today’s video for a mini lighting & shadows lesson and a fun design to use this Thursday!

Posted on Leave a comment

Tuesday Tips @ Ten: Bricks with a Brush

What do you do when you can’t find your favorite brick stencil? For this week’s tip I’ll share how I make perfectly uniform bricks with NO stencil! I still love my stencils, but when I misplace mine or just forgot it at home (which, let’s face it, happens a lot with stencils), this is what I do!

Posted on Leave a comment

4 Speedy Snails

Today I was practicing some balloon twisting, and working on coming up with a few variations of a snail! The little orange one is just a single 160 balloon with a yellow scrap. The pink & yellow one uses two 260’s and one pink 160, while the bigger one with the chrome shell uses three 260’s and a white round!

It’s super useful to have multiple ways to make different things, not only for the ability to adjust your speed at an event, but to account for any variations in the supplies you may have packed!

It got me thinking of course of how we do this same thing with face painting. I can do a quick cheek art version of something, a more detailed half-face, or a full face, for many of my designs! So I thought I’d put together a little video of the amount of variety you can achieve JUST within the CHEEK ART category alone! Here I start with s super fast snail that is made up of one pounce of a dauber and three teardrops! I then go on to add a little more detail, stepping it up with google eyes, and finally with more shading and festival glitter! The variations are endless, but I hope you enjoy this little sampling of speedy snails!

Posted on Leave a comment

Step by Step Juggling Snowman!

The snowfall here in Minnesota the past couple of days has been MAGICAL! My favorite kind…the thick, fluffy kind that falls slowly like a snow globe and sticks to the branches, making everything look like a fairy land! Here are just a few pics I took in my yard:

Today felt like just the perfect photo backdrop for me to paint a little snowball juggling snowman idea that I drew in my sketchbook during my paint jam earlier this month!

Here’s a little time lapse tutorial!

Posted on Leave a comment

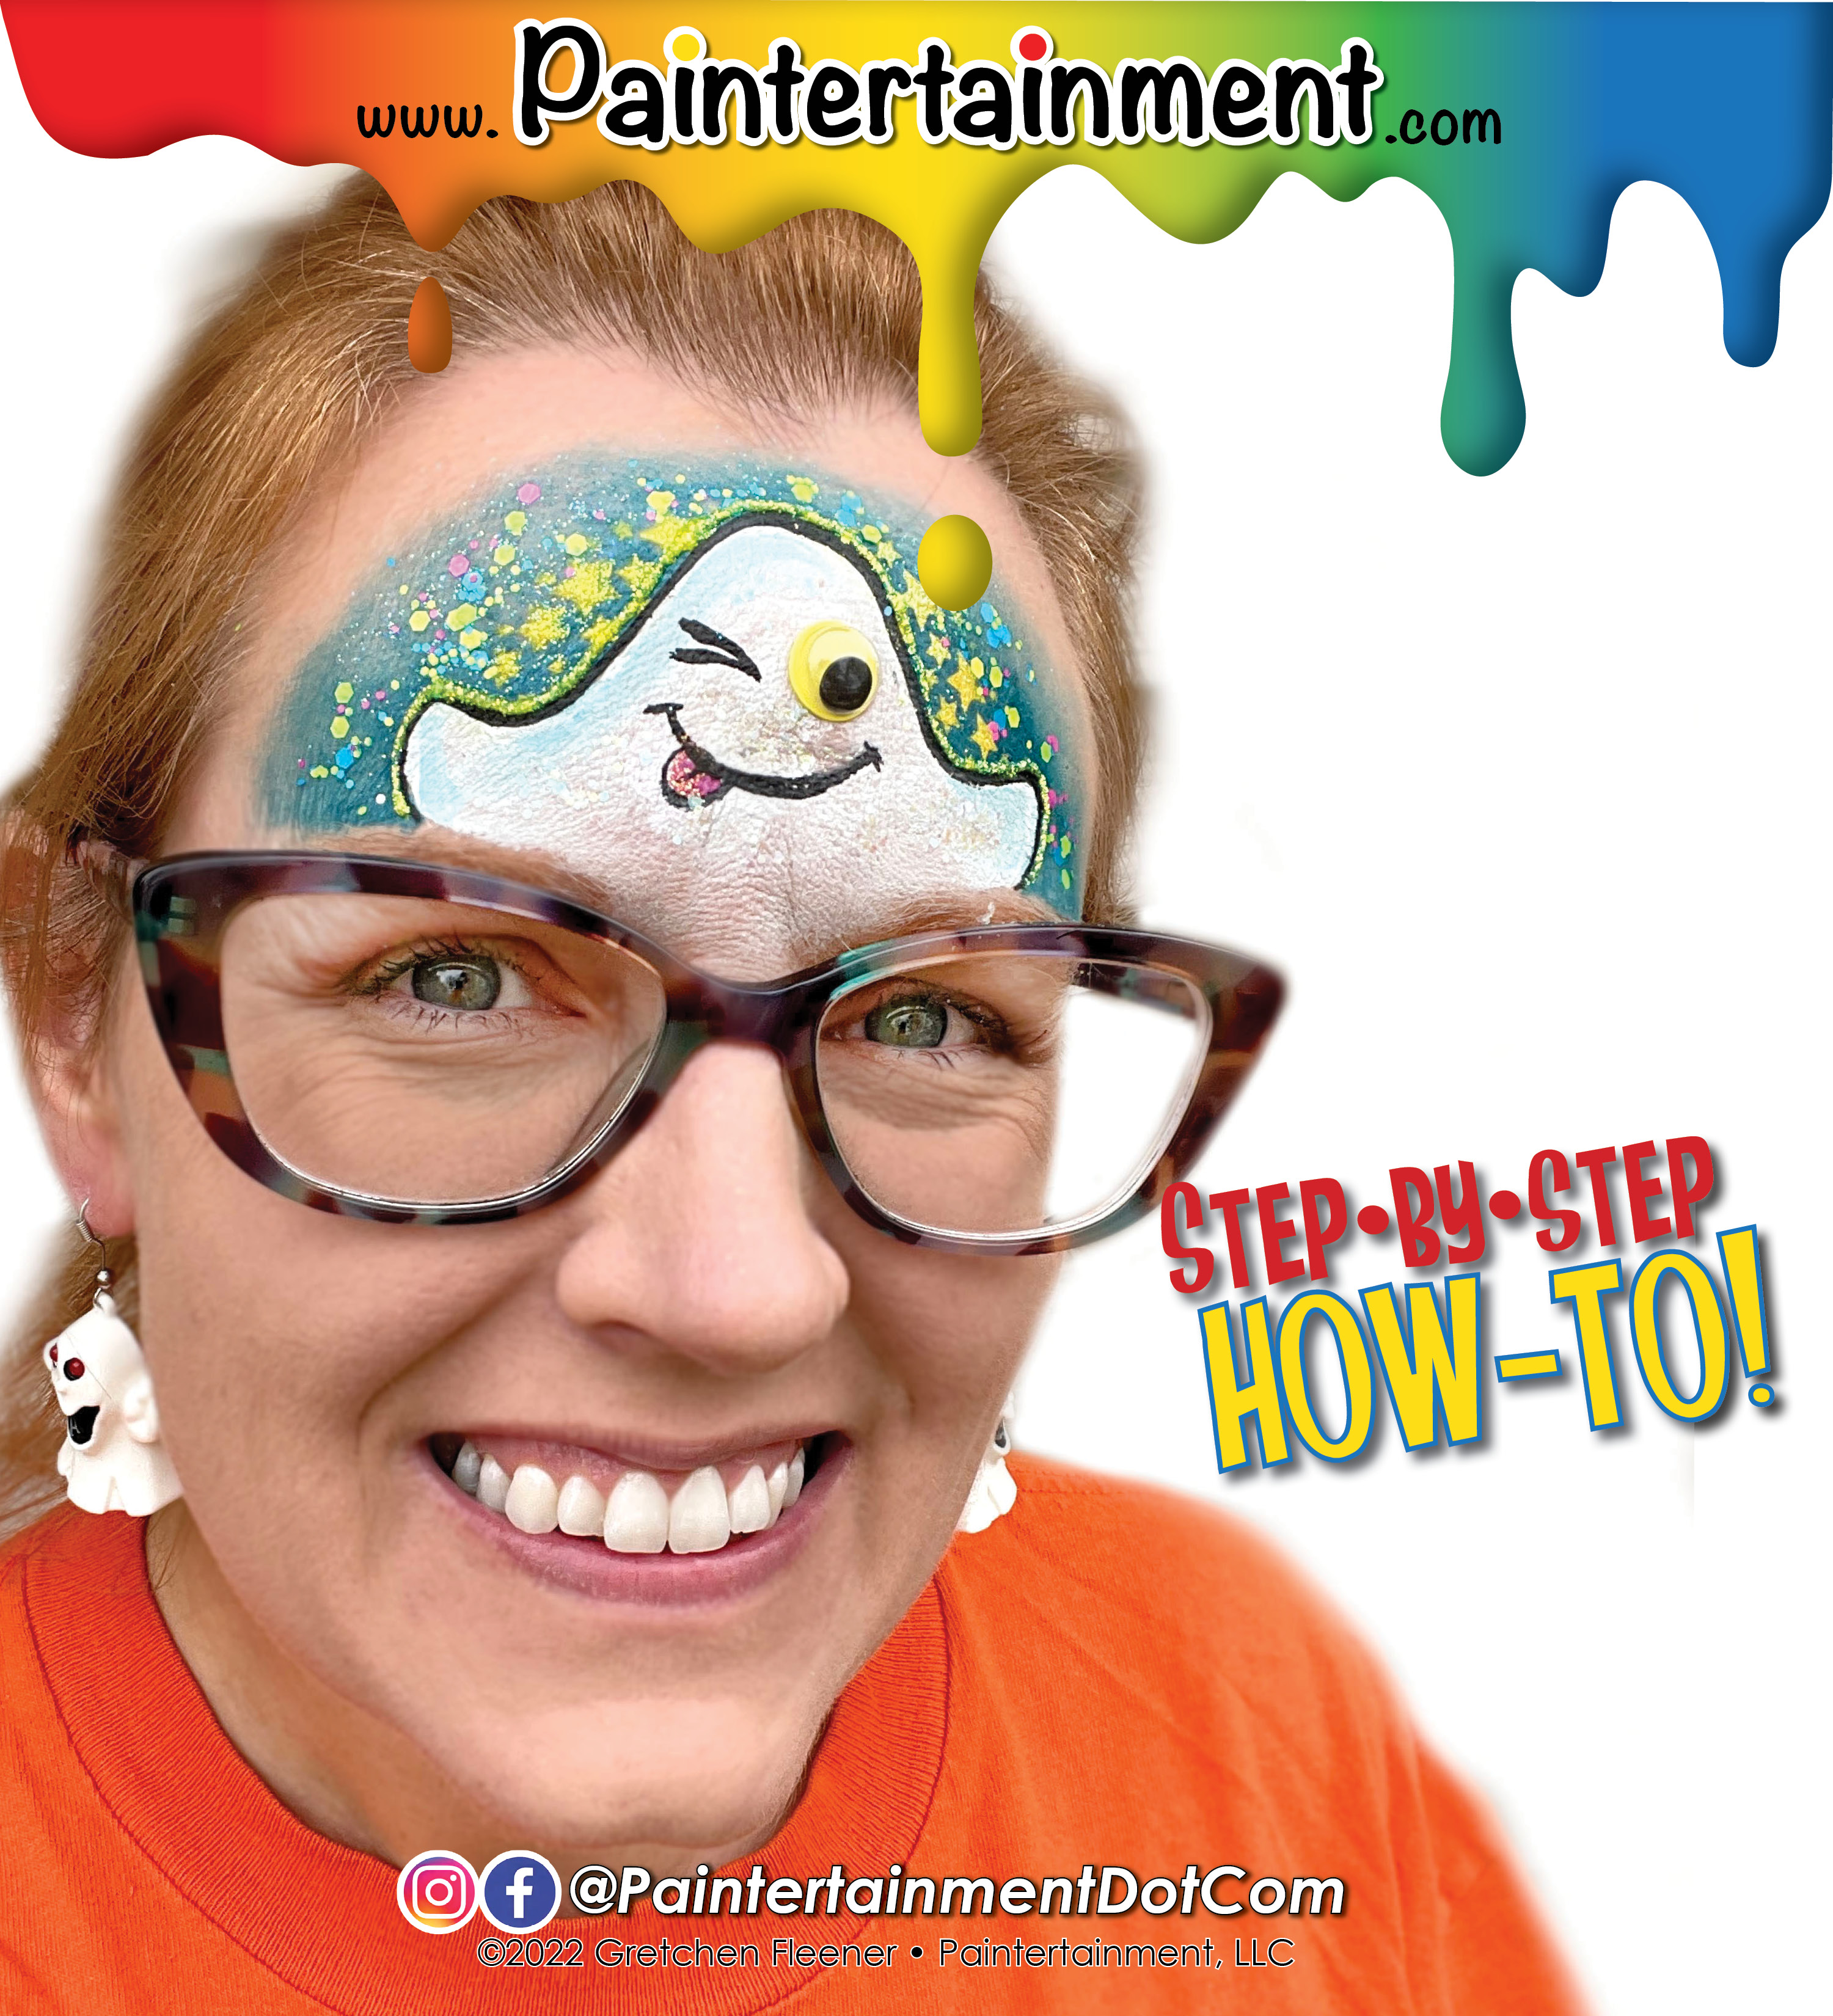
Step-by-Step: Googly Ghost

Let’s have some more fun with googly eyes!!

Want to offer some googly eyes to your designs but don’t have a lot of them on hand? You can make them stretch twice as far by making your characters WINK! 😉

This little ghost is SUPER simple and only requires ONE googly eye!

Step 1:

Using a round brush loaded with your favorite blue (I’m using FAB Shimmery snow petrol!), outline the curves of your ghost, and then paint around that for a background.

Step 2:

Fade the edges of your blue background. I love to use my Cameleon large blending brush for this!

Step 3:

Add some stars! I’m using my Ooh! Star Flip stencil and a finger dauber loaded up with yellow. First I lay down the stencil and use a makeup remover wipe to wipe away the blue, then apply the yellow paint, and finally tap on some yellow glitter before removing the stencil. This gives me crisp, clear, bright yellow stars that are glittery only ON the stars!

Step 4:

Fill in the ghost with white. I’m using Wolfe white and a round brush. Add a little dimension with some light blue if you wish!

Step 5:

Clean away a spot where your google eye will go. I use mini daubers to do this but a wipe works too, or a clean brush. Using a small round brush loaded with black (I’m using Wolfe black), outline the design and add the mouth and winking eye. Add a little tongue if you like!

Step 6:

Adhere one googly eye with Pros-Aide II (it is easier to remove than the original Pros-Aide, which I reserve for glitter tattoos), and finish it off with some chunky glitter! I used Vivid Candy Cosmos up in the sky, and Amerikan Body Art Biosphere on the ghost.