Posted on Leave a comment

Come see me at MAX!

Woohoo!! Only 13 more days until I hit the road and head to the MAX convention in St Louis! I’m super excited to be road trippin’ with an entourage of Minnesota painty friends, and to be teaching three convention classes AND one post-convention class! I’ll also be running a table in the vendor room. If you’re coming to MAX, be sure to swing by and say hi! I’ve only ever attended ONE convention within the US and that was right in my home state of MN, so I’m super excited to meet so many artists I’ve only known via Facebook! Be sure to follow me on Facebook and Instagram (@paintertainmentdotcom) as I’ll be posting pics of our adventures in St Louis!

Here are some descriptions of my convention classes:

Monday, April 17, 4:30-6:30: Cheek Art

If you’re planning to attend my cheek art class OR are just thinking about it, please connect with me via my Facebook event page by marking yourself “going” or “interested!” I’ll use this event page to communicate with my students and share info before and after class.

Tuesday, April 18, 10:15 – 11:45: Realism

I’ve had SO many people tell me they struggle with knowing where to put shadows and highlights. I’ll be using lots of visuals and hands on learning to help you grasp the concepts of painting something to look 3D! If you’re planning to attend my Realism class OR are just thinking about it, please connect with me via my Facebook event page by marking yourself “going” or “interested!” I’ll use this event page to communicate with my students and share info before and after class.

Wednesday, April 19, 2:4504:15: Jewelry

In my Jewelry class we will go over the top 7 mistakes people make when attempting to paint realistic jewelry! If you’re planning to attend my jewelry class OR are just thinking about it, please connect with me via my Facebook event page by marking yourself “going” or “interested!” I’ll use this event page to communicate with my students and share info before and after class.

Thursday, April 20, 2:00-4:00: Window Painting Post-Convention Class

This class is a post-convention class, so it is NOT included in your convention registration. The cost is $75, and space is limited, though I still have just a couple spots left as of the writing of this post, if you’d like to snag one! $75 will be a STEAL for all the information you will get in this class! You can easily make that back plus a lot more on one window job. I am not wasting your time having you practice painting on glass…you all know how to paint with a brush, and you have windows at home. In THIS class I will teach you all of the in’s and out’s of window painting, and how I turned my covid pivot turned into an incredibly lucrative addition to my services. I will walk you through the process of painting windows, but will also tell you what supplies you’ll need (and how little you can get away with when you start out), what to watch out for, tricks of the trade, how to remove window painting, and how to keep painting windows in the winter months. I will give you a step by step plan to take yourself from never having painted a window to soliciting window jobs in your area, marketing tips, and additional learning resources. I’ll even with you my own window job contract, and the rates I was paid for the windows I have done to date. If you’ve ever toyed with the idea of getting into window painting, do NOT MISS THIS OPPORTUNITY!! I will be boiling down everything I’ve learned the hard way over the past 3 years into 2 hours of gold for you!

If you are just thinking about this class or are planning to register, be sure to connect with me in my Facebook event page where I will be communicating with those who are interested! Once you register for the class, you will be invited to a private group for class attendees ONLY, where we can share our progress into the super fun world of window painting. If you would like to snag one of those last couple seats left, CLICK HERE TO REGISTER!

Posted on Leave a comment

Tuesday Tips @ 10: Double Dip Petals

Happy Tuesday! Today I’m going to share a technique that may already be familiar to some of you, but many new painters struggle with: double dip flower petals! Got some additional tips of your own for creating awesome double dip petals? Please share in the comments!!

Posted on Leave a comment

Tuesday Tips @ 10: Trimming your Photos!

Happy Tuesday! Today’s tip is for iPhone users who find the need to trim their photos from the background, whether it’s to create design menus, banners, business cards or other graphics for your business. I’m very proficient at Photoshop so I’ve always trimmed photos myself on my computer, however, my son showed me this awesome trick that’ll instantly trim photos for you! Check it out!

Posted on Leave a comment

Tuesday Tips @ 10: Loading a One Stroke Brush

Happy Tuesday! This week’s tip might be more for beginners, but could still be worth a watch if you’re an experienced artist who sometimes has trouble with one strokes…today I’ll show you how I load up my flat brushes with a one stroke split cake!

Posted on Leave a comment

FREE Balloon Tutorial: “Head Huggers!”

This week I came up with a fun idea for some headband balloons that I have been calling “head huggers!” These are SUPER easy and fast to make, and there are SO many possibilities to mix them up with different characters! I put together a little tutorial, and I can’t wait to see what YOU do to take this idea to the next level! Be sure to share your own creations…we love to see your work!

Since the standard heart shaped cat prints that so many twisters love to use have been hard to come by lately, I thought I’d try something different! The cat heads I used on my kitty head hugger I purchased on Amazon. They come with cardboard ears and a roll of glue dots. So for parties, what I did was cut apart pieces of the glue dot roll so I had short pieces with two dots each, stuck them in place on the ears, and then when I need to attach them at a gig, I can just peel off the backing and stick them on. I think they look pretty cute, and a great alternative to the heart shaped cats!

Posted on Leave a comment

Throwback Thursday: My First Gig! (And First Kit!)

So this is quite the blast from the past…last weekend my mom gave me two old photos (yeah, the kind you had to wait to be developed from real film) from my first ever hourly paid gig on my own!

I’m wearing two different outfits because this was a weekend-long gig! My mom has her acrylic paintings printed and published by a company who was then called “Wild Wings,” based in Lake City, Minnesota. Every year they’d hold a “fall festival” at their headquarters where people could come and meet the artists and enjoy food, fun and the gorgeous fall colors of Minnesota!

I believe this would have been 1995 or so, when I had just started painting, because I didn’t have my own set of paints yet. In the bottom right corner of the first picture you can catch a glimpse of my first kit, which my Dad built for me for this gig!

My first face painting job was at an amusement park, which of course being in Minnesota only ran into the fall and then closed for the winter. My boss at this job provided all the makeup we used (Kryolan), so I didn’t have my own kit. I can’t recall if he let me take some of his paint for this job, or if that was the first time I started buying my own paints. The first paints I bought were purchased from a family friend who owned a costume shop at the time, and carried a small assortment of Kryolan makeup.

This little box my Dad built was designed to hold 10 plastic film containers (Yup, the kind that held film canisters those old photos were taken with!), because that was what we had on hand at home that was small and water tight! It has a drawer pull for a handle on one side, and a plexiglas sliding coverI think he did a great job with this kit…I still have it to date! I painted it with the same bright, primary colors that I use in my business branding today!

Back then when I started, we’d stir up our Kryolan paints with water to get them more liquid-y, so these deep pots worked just fine for my cheek art. Today of course I prefer larger cakes that I just activate with water as needed.

Anyway, I thought some of you might get a kick out of this little blast from the past and my humble beginnings! Heck, I’m still in my humble continue-ings if you ask me…I learn new things every day from all of the artists I get to interact with now online, at conventions, classes and jams…my how far our industry has come!

Posted on Leave a comment

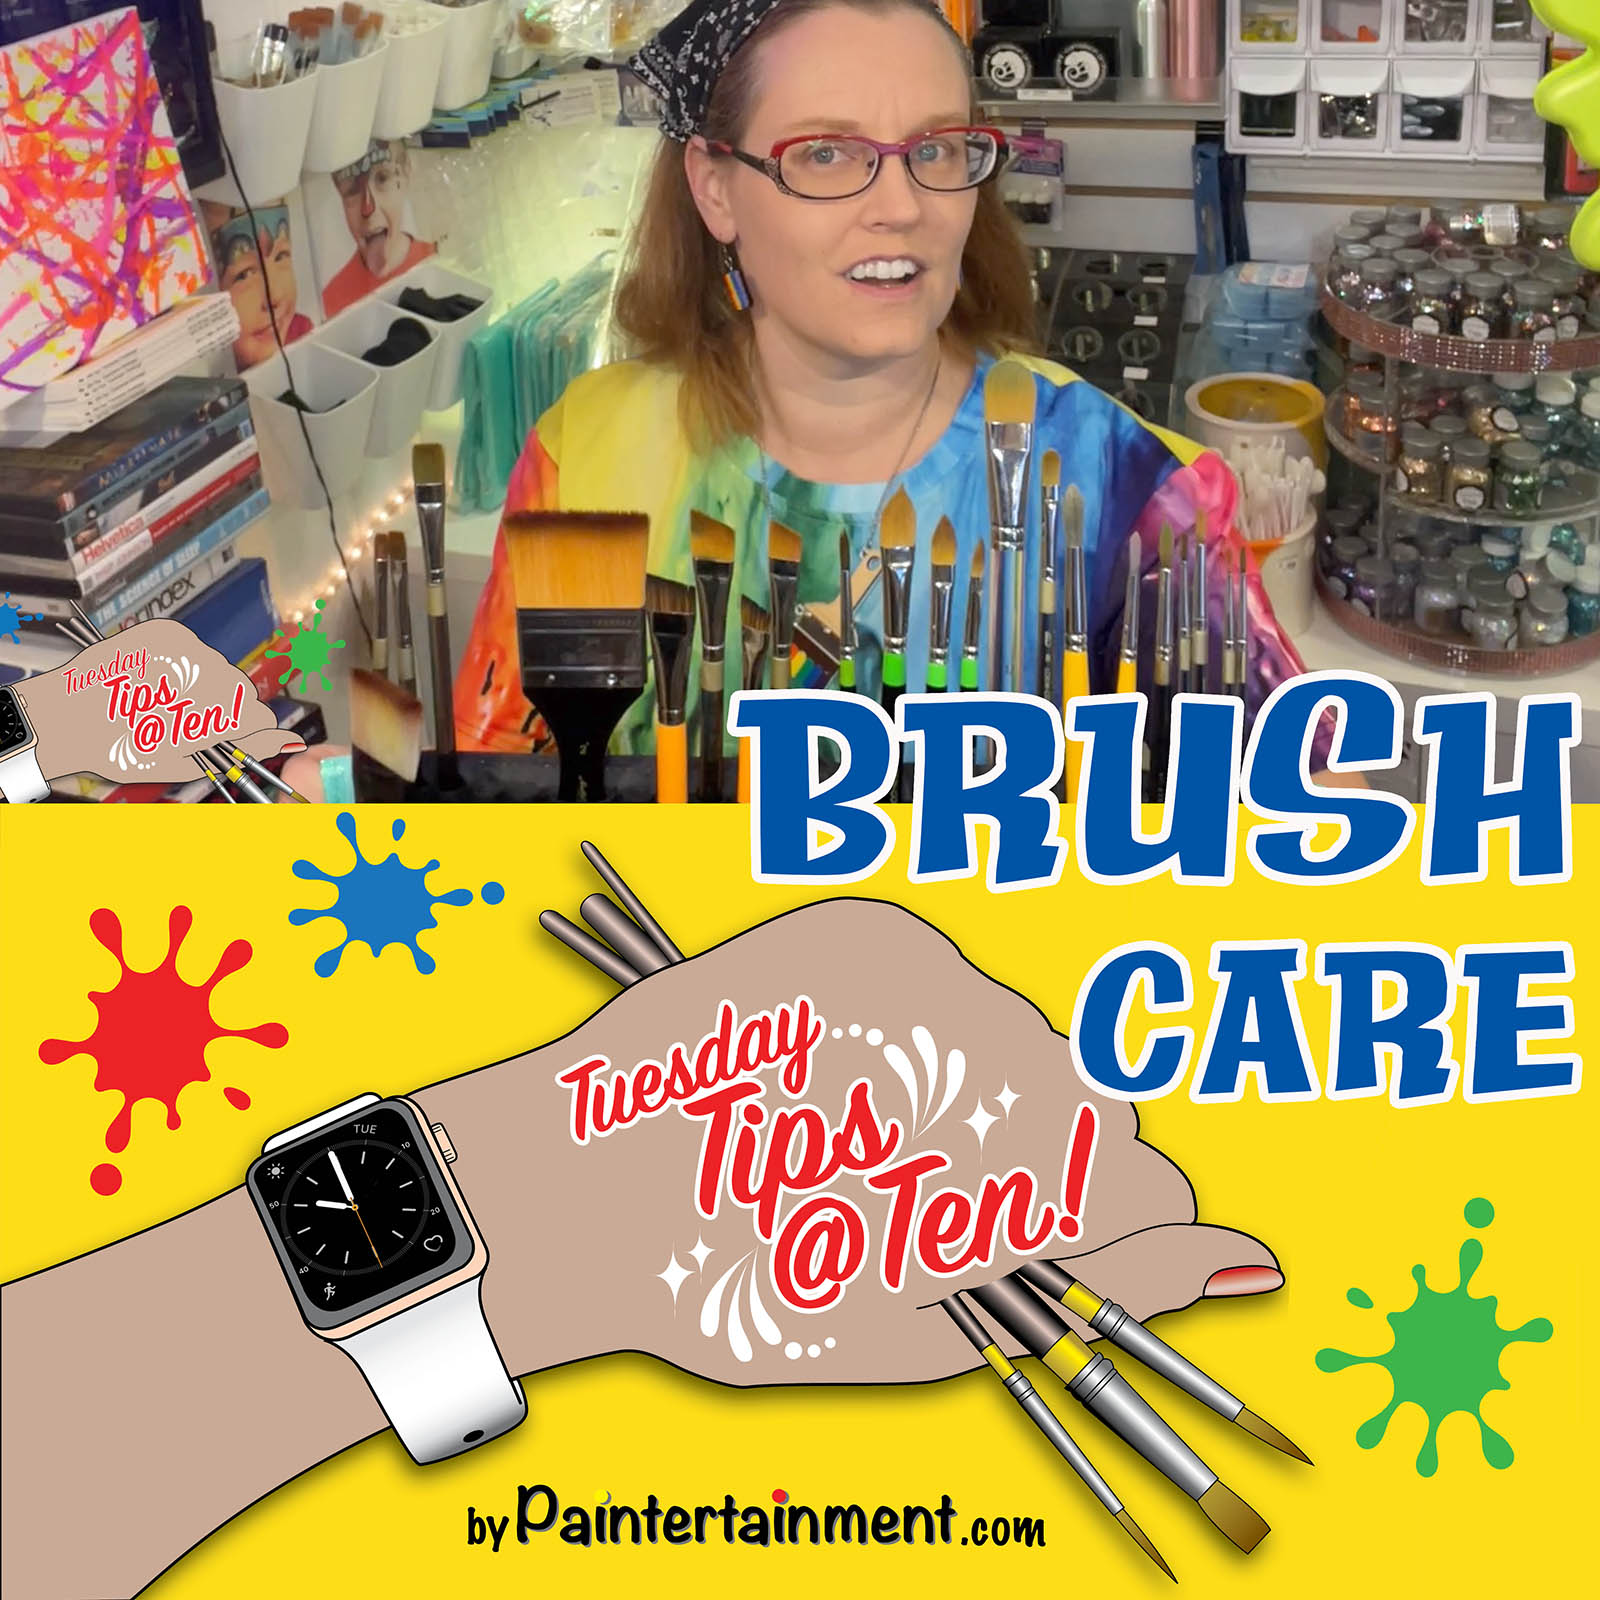
Tuesday Tips @ 10: Brush Care!

Happy Tuesday! This week I’ll share with you my brush care best practices…this is how I have kept my brushes working their best for many years!

Posted on Leave a comment

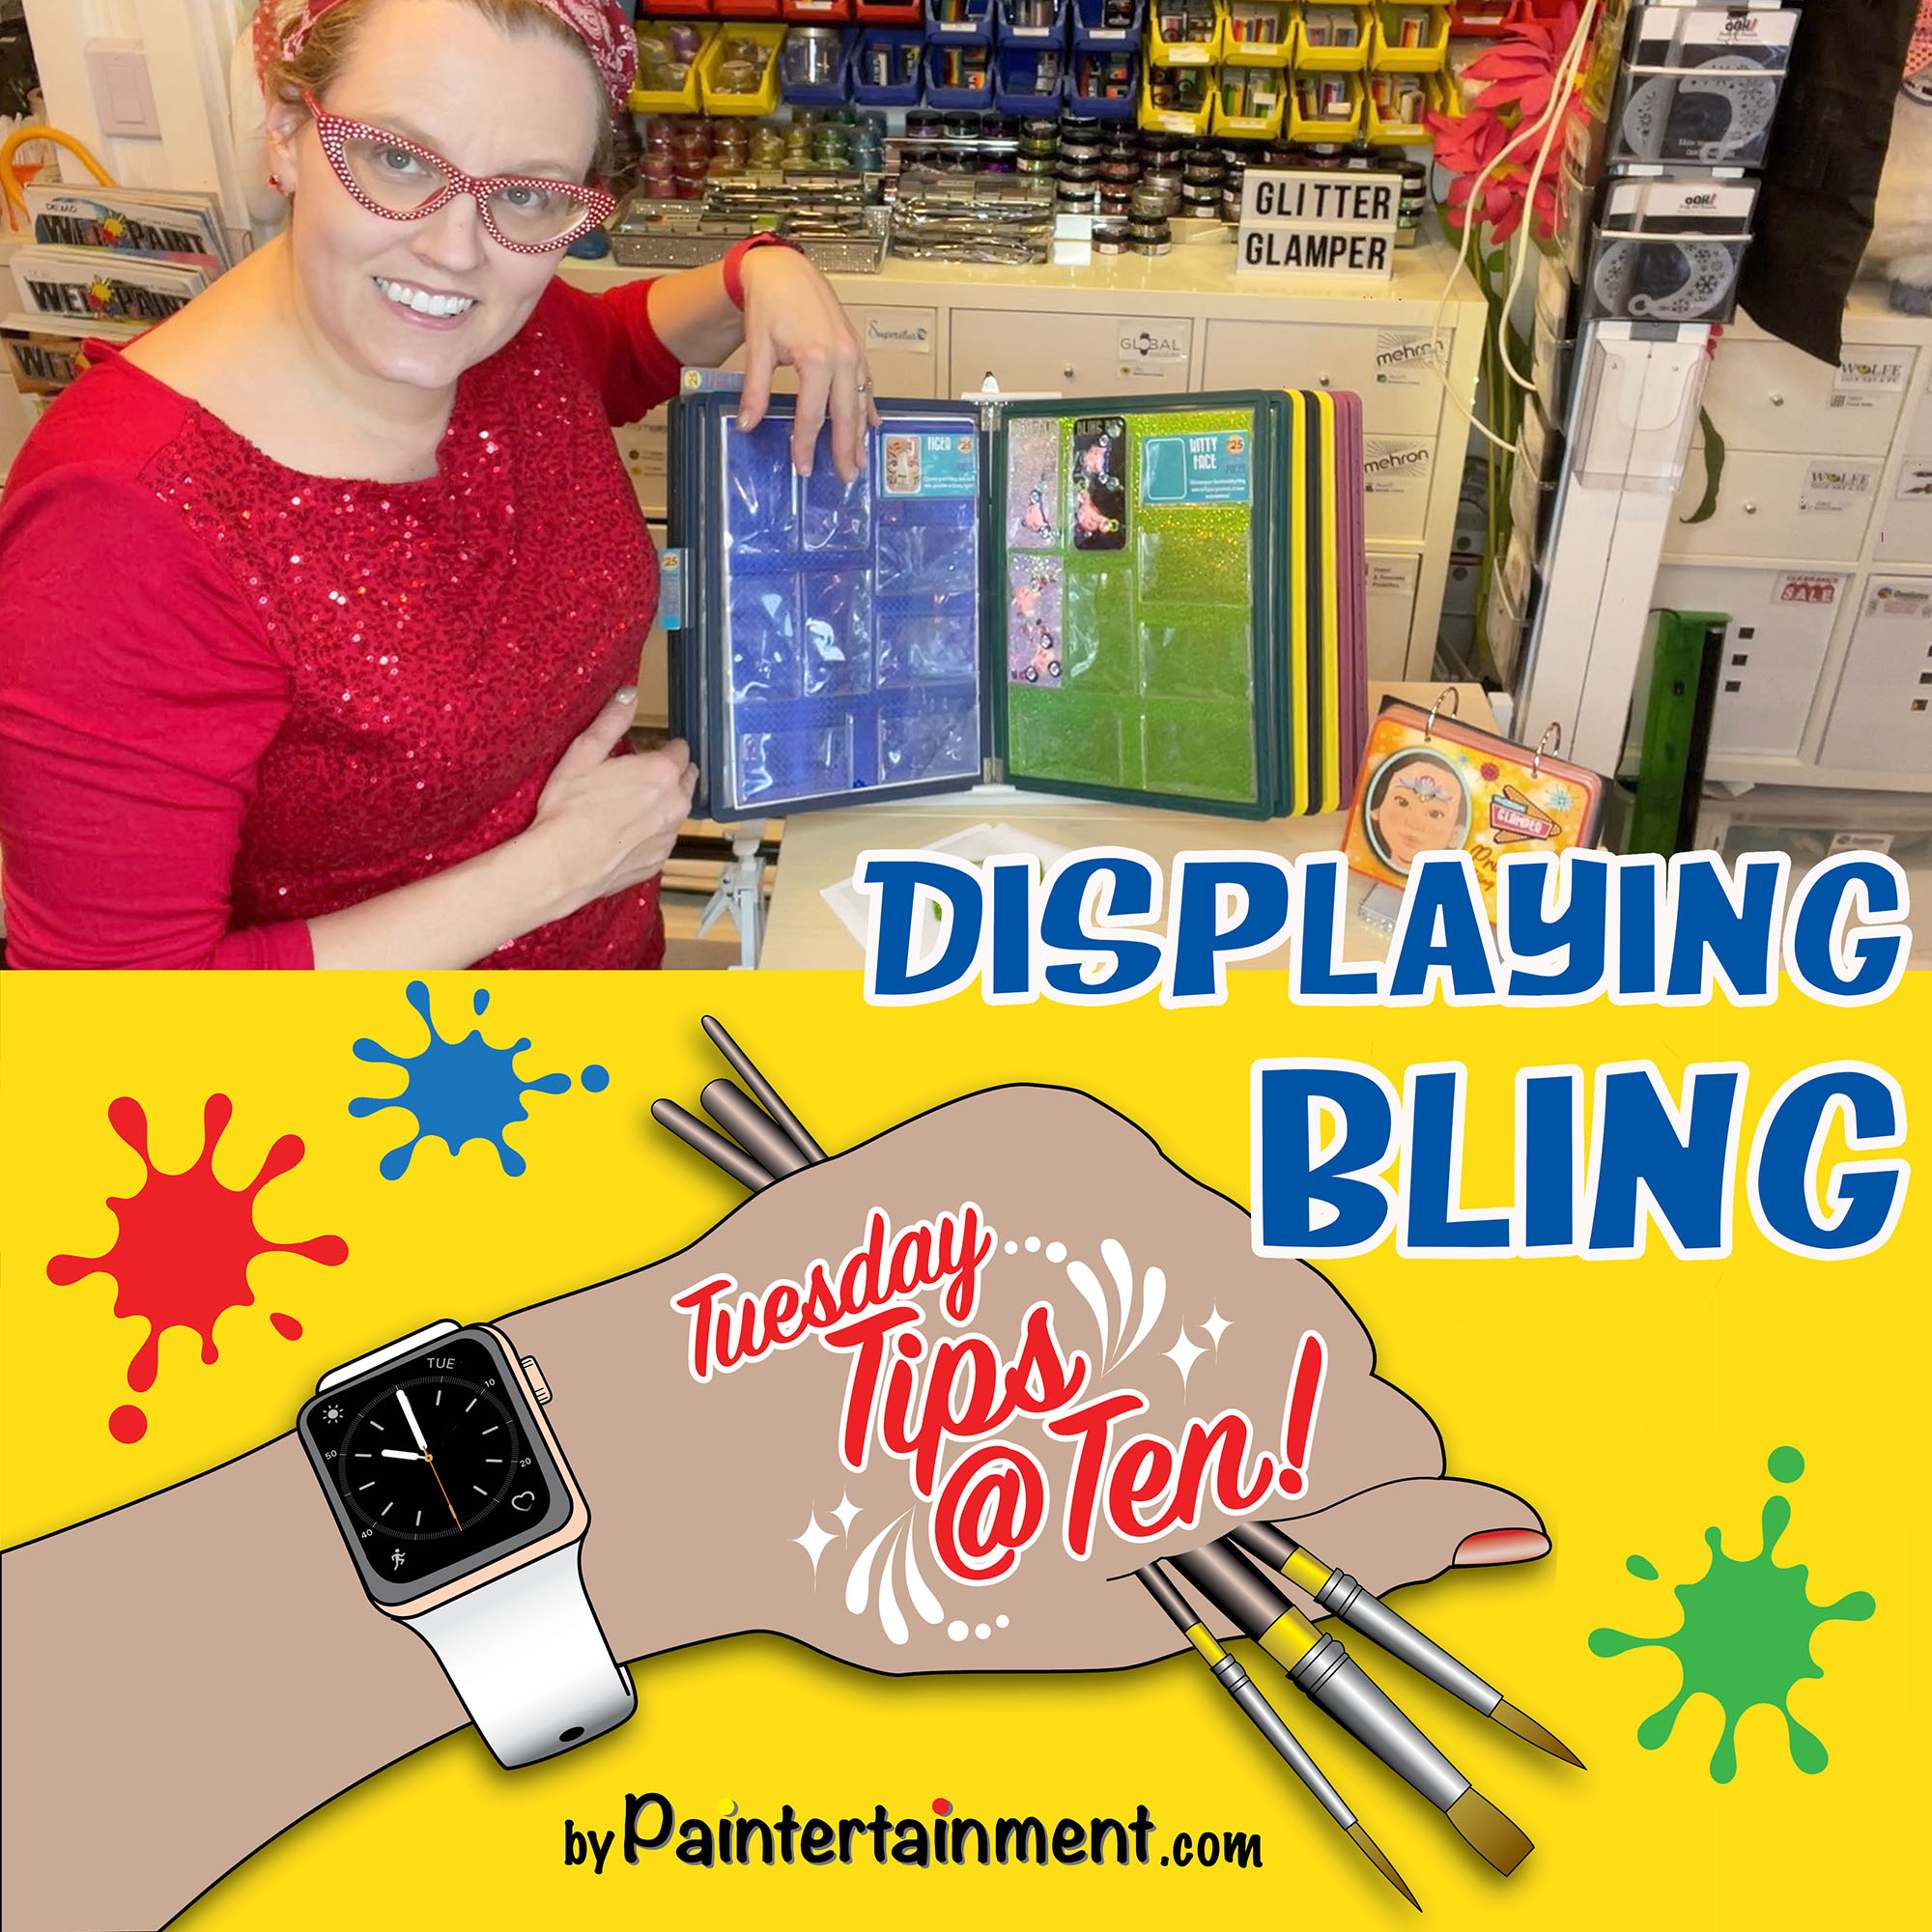
Tuesday Tips @ Ten: Bling Storage!

This week’s tip is on the subject of bling clusters…how to store them and how to display them! I’ll share with you my method…please feel free to comment with your own storage and display method! I’m always looking for more ideas!

Relevant links from this episode:
Desktop reference system: https://amzn.to/3S9ukbe
Side load business card pockets: https://amzn.to/3KCT0av
Top load business card pockets: https://amzn.to/3En6wL8
Hanging jewelry holder: https://amzn.to/3kedgV2
Jewelry box for horns: https://amzn.to/3XHY1kW

Well, I just realized my post from LAST week didn’t post! Grrr…well, if you’re ever looking for my Tuesday tips here on my blog and they don’t show up, be sure to swing by our Facebook page as so far that seems to be the only place they regularly work! But for now, here’s lat week’s tip as well!

Posted on Leave a comment

“Micro Kit” Palm-sized face painting kit!

I made this mini pocket sized kit many years ago, but gave it a facelift this week! I love experimenting with the extremes of how small and portable I can get with things. I’ve had kits as huge as the rolling Fatmax and a guitar case, and have settled so far on something much more practical, but this little kit was a fun experiment!

The case itself is metal covered with duct tape…I probably found it at a thrift store but it’s been over 10 years so I can’t remember! The collapsible water cup has a strong magnet on the back so it can stick to the case itself, or can be left out, but inside has a tiny jar of glitter as well. Yes, I sawed off one of my Bolt brushes to use with the rainbow cake, haha! The round brushes are travel brushes designed for plein air artists, and the paint containers are full watercolor pans (links below) secured with small neodymeum magnets. I cut my own stencils to fit inside, made a mirror-slash-brush holder with duct tape and a plastic mirror.

This is just a fun thing to have on hand, whether you want to surprise kids in a boring waiting room or at a party, or just need a backup in your glove box! How small can YOU go with your kit?

Travel brushes on Amazon: https://amzn.to/3XK10ZR

Watercolor paint pans: https://amzn.to/3lStKTe