I’ve been on a google eye kick lately! Here’s a fun bat design that uses “human-style” google eyes! These eyes have fun colored irises, as opposed to your typical google eyes with just a black “pupil.”
Step 1:
Load a 3/4″ angled or flat brush with a pink & purple split cake. I pulled the neon pink & purple from my Superior Sunset base blender. With purple on top, paint the outlines of the wings.
Step 2:
Use a fluffy brush to blend the pink down over the eyes, and feather the purple. I love using my Cameleon large blending brush for this!
Step 3:
Paint some pink for the insides of the ears. I left a couple little tears in the edges of his ears!
Step 4:
Add a little texture to the inside of the wings. I used my mini stencil kabuki brush and purple with a HAS 5701 stencil (from the “Alive” set) to create a little texture, and wrapped it around and under my eyes a bit.
Step 5:
Using your favorite round brush and black, paint the bat’s head, tuft of hair, and wings.
Step 6:
Using a small round black loaded with white, add a smile, fangs and highlights. I also used a halftone stencil to fade the head onto the bridge of my nose. Finish it off with google eyes applied with Pros-Aide II, and some fun chunky glitter! I used “Valley Girl” Pixie Paint!
We are SUPER excited to show you our all new “Bling-to-Go” Do-it-Yourself Body Bling Kits!! They are the perfect way to celebrate virtually with your friends, or bling yourself out for a socially distant night on the town! Each kit includes a storage tin, complete instructions, skin-safe Pros-Aide body glue, and coordinating cosmetic glitter gel! Simply peel your bling off at the end of the day and store it in your tin to use again!
We have a variety of different options as far as designs go, from unicorn horns to mermaid tails and everything in between! However, every kit includes full color instructions, a 1ml vial of body glue with applicator, a 1ml container of Pixie Paint glitter gel, and your hand made bling piece of choice, all neatly packaged in a little tin for storage!
Our kits come complete with step by step instructions to get you started, and you can wear your bling cluster again and again! Loving the bling more than you thought you would? No worries…we have everything you need if you decide you’d like refills of your glitter gel and adhesive in the Glitter Glamper Shop!
Our handmade bling is even better when one of our talented “Glampette” artists brings it to your event and applies it along with their skilled makeup embellishments, and we can’t WAIT to get back out there and “Bring the Bing” to your celebrations! (Click here learn more about all of our in-person glittery offerings!) In the meantime, we hope that these Bling-to-go kits will help fill that sparkly void!
Less gigs and more time in my studio means I’ve had a chance to work on NEW designs for the Glitter Glamper, and creating some custom stencils to go along with my new fairy wing and tutu bling. After sharing my new designs, I have had requests for my custom stencils, and this week was able to get them to a point where I can now offer them to YOU as well, in the shop! I’m super excited to announce that we now have our brand new ballerina and fairy bling stencils ready to ship!
Essentially these stencils are designed with spaces intentionally left blank, allowing you to insert your own painted tutus (one strokes make them fast and gorgeous!), or stick on your own tutu bling clusters! They are designed to be complemented with one stroke swooshes, swirls, teardrops, and of course festival glitter!! This is something I’ve been personally creating for the 2020 Glitter Glamper booth at the MN State Fair but I wanted to share the idea with my fellow artists who create bling! They are super cute, made with pieces of lace and trim. I may sell these down the road, but for now they are only available at the Glitter Glamper booth.
Testing out different types and lengths of trim and lace to make tutu bling for the Glitter Glamper booth at the MN State Fair My hand made fairy wing bling, which will be available at the Glitter Glamper booth at the MN State fair this summer!
Now you could theoretically use both a set of wings and a 3D tutu bling on one of these fairy designs! I’m going to offer either a fairy with 3D wings and a painted tutu, or a Ballerina with a 3D tutu, to separate my offerings and have one 3D piece per design. Here’s how I do the painted tutus…..
These short kabuki brushes are AWESOME for stencils! Once I tried them the first time, that’s all I use now.
Here are the stencils I have available now in the shop!!
Tutu Fairy Pair Stencil
This stencil gives you a lot of bang for your buck, with two fairies on one stencil. Spaces were intentionally left blank, allowing you to paint in a tutu with one strokes, or stick on a 3D tutu cluster!
This stencil includes TWO torsos on one stencil! They are sized a little larger than the full body ballerinas, and are perfect to go on the forehead or cheek! Add your tutu either with a one stroke or a 3D tutu cluster!
These look just as good with painted tutus! Be sure to add lots of GLITTER!
Please feel free to comment or ask questions here, and if you order these, we’d LOVE to see what you do with them! Follow us on Facebook, post your designs and tag us @paintertainmentdotcom!
Thanks so much for stopping by, and happy painting!


 Short Kabuki Stencil Brush$4.99
 Human Style Google Eyes – 90 pc$3.99
 Pros-Aide IIPrice range: $20.00 through $101.50
 Amerikan Body Art Pixie Paint$7.50
 HAS Alive Set$22.00
 Wolfe Hydrocolor Makeup 90 gram$19.00
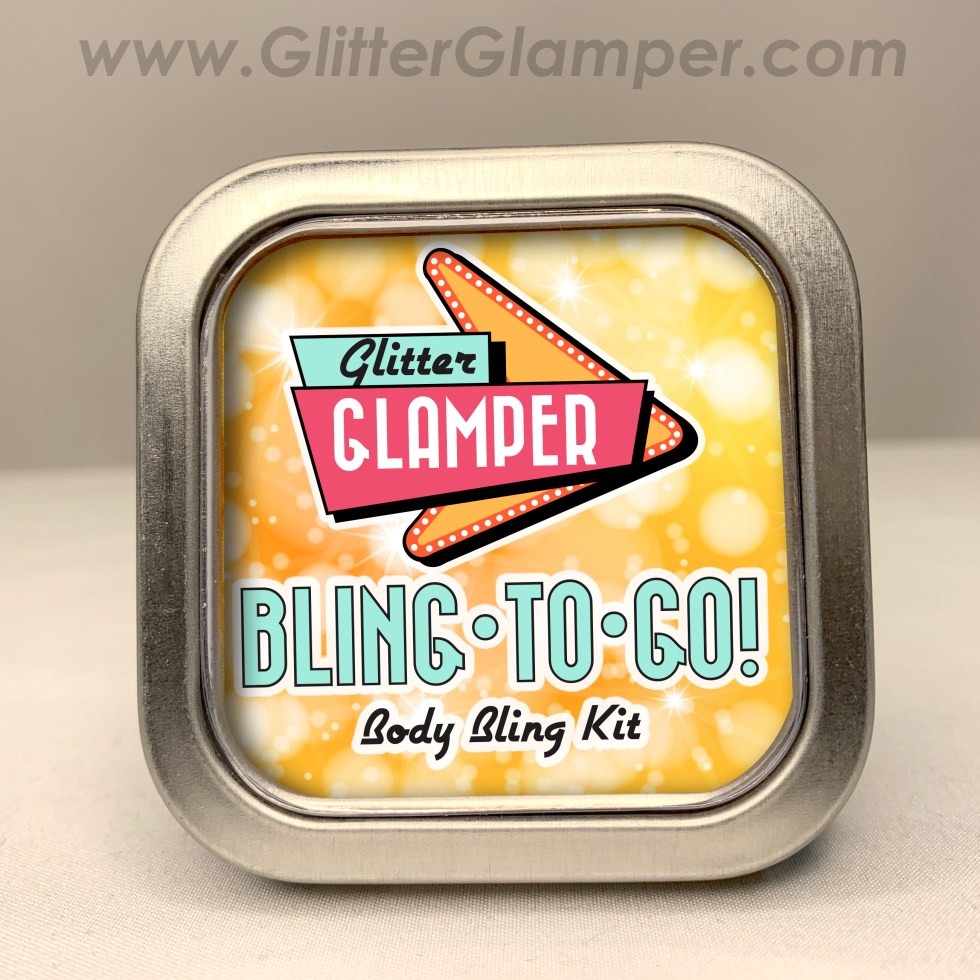


You must be logged in to post a comment.