Posted on Leave a comment

Think SPRING with our New St. Patrick’s Day Package Deal!

The winds are blustery and we’re getting ready for our 3rd day of closed school due to extreme cold windchills tomorrow… so spring can’t come soon enough around here!  That’s why we’re already thinking ahead to St Patrick’s Day! 

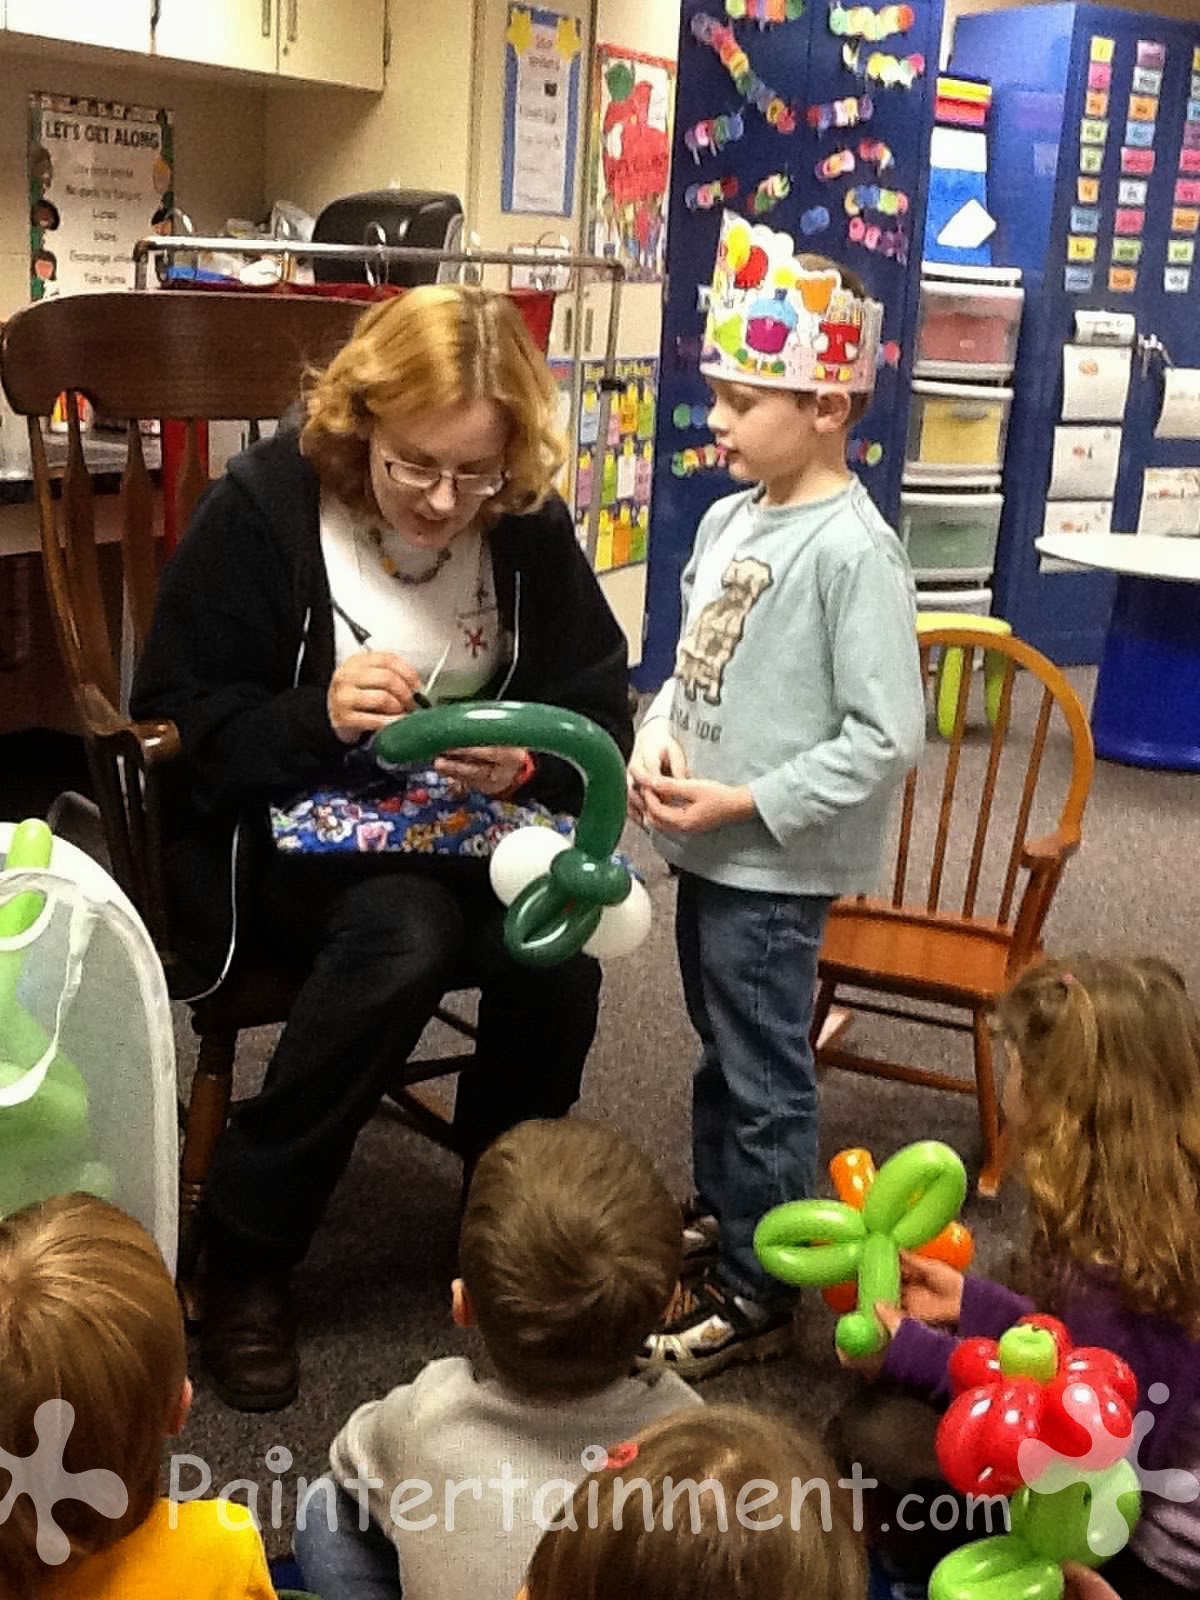
I’ve just put together another all new package deal, specially geared for St Patty’s Day!  The design done in the above photo was created using all of these items included in the package:

This package is available for $44.00!  If you were to purchase these items separately, it would total $49.74.  So, you save $5.74 with the package deal!

Here’s what comes in the kit:

 This package is also a great deal just for anyone looking to try out some new things….like the new Paradise “Brilliant” line of metallic paints, an awesome TAG one-stroke “Leaf Yellow” (which will also be great for leaves on your Valentine’s day rose designs), Liquid Bling, and some fun BAM stencils! The shamrock rhinestones make your St Patty’s day designs extra special. (don’t forget the adhesive if you don’t already have some in your kit!)  And the greens and gold are great for other times of the year too, like spring, Christmas, etc!  Want to add even more to your package?  Pick up a stick of green lipstick for just $2.50!

Check it out today in the shop, and think SPRING!!


Posted on Leave a comment

New “Hot Wingz” Stencils Now Available!

We are now carrying a selection of the new Hot Wingz stencils, from the makers of the very popular BAM stencils!  Today I took some time to try out the ones we are currently carrying, so that I could display photos of what they could look like with paint on the shop website.

Each stencil comes with one “Wing Dingz” piece (the peanut shaped piece you see in the photos below), which can be used to block out certain areas of the stencil that you might not be using in your design.  The Wing Ding can be used alone as a curve template as well. The Hot Wingz also have a “shadow shield” to protect paint from getting under the eye if being used with an airbrush.

Hot Wingz, much like our beloved BAM and HAS stencils, are durable, flexible, washable, and re-useable.  The stencils shown below are available now on Paintertainment.com for $9.00 each.


Posted on Leave a comment

Help Me Design a NEW Balloon Twisting Product for my Shop!


Last month I made this little set of pocket menu cards for my balloon twisting.  They work really nice, and fit right into the pockets of my apron.
I posted the above photo in a group on Facebook and there were a lot of people interested in me adding them to my online shop. I’m close to being able to print these now, and thought that it would be fun to let you all in on the ground floor of this new addition by soliciting your feedback on the design selection. 
 This is a rough draft of some of the designs I’m thinking for each card, sorted by # of balloons involved. I still need more on the 4+ card, but not sure if I’ll keep that card in or not. Are there any missing that you strongly feel should be there? Any that shouldn’t? I’m still a fairly new twister so there are many I haven’t done but would love your input! 
It’s not really meant to be an all-encompassing menu of ALL that you can do, but something to get the kids’ ideas going. For example, the heart wand could just be a wand representation…you could make all sorts of wand versions.  The animals of course can all change colors to suit the child.
 I’m trying to keep them mostly done with your standard 260’s that everyone has, nothing too fancy, so they can work for a wide range of twisters. 
I’m envisioning the final cards to be postcard sized & laminated. They will have a hole punched in the corner with a metal rivet to keep them sturdy, and then will come attached with a single metal binder ring. The ring can then be attached to your apron by whatever method you’d like, or they can be taken out of the ring and passed around.  
Holiday ones are in the works next! Would love to hear your thoughts before I go to print!  I am hoping to print these within the next few days, so if there’s something you’d like to see changed on them, now is the time!  Please leave your feedback here in the form of comments to this post.  Thanks so much!!
Posted on Leave a comment

Free Valentine’s Day Cheek Art How-To + NEW Valentine’s Package Deal!

Valentine’s day is fast approaching!!  Here’s a cute little Cupid cheek art design that I put together for you today! If you’re a subscriber to our free e-newsletter, you’ll see this one in our January issue, along with several other cute Valentine’s cheek art designs!  And don’t forget the 15% off coupon, good on your next order of $20 or more through Valentine’s day!

Looking to kick your Valentine’s designs up a notch? We have a new Valentine’s day package deal!!  This deal saves you over $5.00 versus purchasing each item separately.  The package comes with two BAM stencils, two sizes of acrylic heart rhinestones, a sheet of 3-D heart and gem stickers & rhinestones, two bottles of cosmetic glitter (pink and red), and a Paradise Prisma Fleur cake, which is perfect for your Valentine’s day hearts and roses.

While it’s not QUITE ready to ship yet, I thought I’d let you in on it a little early.  I don’t normally post deals before they’re ready, but we’re just waiting on the heart BAM stencils to arrive! They are currently in the mail and on their way here, so as soon as they arrive, this package deal will be ready to ship!  I’m noting a ship date of this Friday just to be safe, but I’m guessing they’ll be here before then. If you’re on a time crunch, shoot me an email and I’ll check the tracking for you to give you a more accurate ship date.  Otherwise, feel free to order and know that it will ship just as SOON as these stencils are in!

Posted on Leave a comment

Using Paint Pot Strips for Double Dip Flowers

We are now carrying paint pot strips!  These little pots ($4.50 for a set of two strips) are great for double dip flowers!  They can be used a couple of ways for double dip flowers…

One way is to fill them each with whatever contrasting colors you like to use for flowers in addition to white.  So, you load your brush with white paint, then swirl the tip on the color of your choosing in these mini pots.  This helps to keep your larger kit clean, avoiding the white swirls on top of your colors from making double dip flower petals!

The other way you can use these is to fill them with both the white and color, enabling you to load your brush with both at the same time.  I heard about this idea during a face painting jam and had to give it a try!  Here are some photos of my attempt…

Press your colored paint in the bottom half or third of the pot.

Fil the rest of the pot with white.

Using the end of your brush handle, make a hole in the center.  Reach down just through the white paint and slightly into the colored paint area.

Brush hole

Now, wet and load your brush in the hole, loading white on the brush with your color on the tip!

Press your double dip petals!

I’ve been experimenting a bit with this method.  So far I’ve found the only tricky part is preventing the colored paint from streaking up the white paint while pulling the brush back out of the hole.  But, I think with a little practice, it could definitely help speed things up and keep the white out of your other paints!

Posted on Leave a comment

Balloon Fun at my Son’s School!

At the beginning of this month I went to my son’s kindergarten class and did balloons for them!  This was for my little man’s 6th birthday, as his special “treat” for his friends.  It was so much fun!  I only had about 20-25 minutes, so I decided to make balloons ahead of time.  This way, I could be sure that every kid would get one, and then I could do a few others for them to watch.  To make things simple, I did a flower for every girl, and a snake for every boy. 19 kids in all!

My countertop, the night before!
Bouquet I made for Sam’s teacher, Mrs Jordahl! Many thanks to her for taking so many great pictures of the day!  I love that she publishes a Shutterfly album of photos from class every week or two.
I started by writing everyone’s names on their balloons.  It gave the kids a chance to spell their names for me!  We also talked about my two very important balloon rules: 1) do not bring balloons to bed, and 2) Never put them in your mouth!

The kids and teacher having fun with their balloons

Doing a candycane…Sam was a great little helper!

Mrs Jordahl with her bouquet (and bee!)

My Birthday Boy!  He was so cute and proud to have his mom come in to do balloons!  Gotta soak this up while it lasts….
All of the “extra” balloons I did in the time I had left, which we decorated the room with!

Sam had so much fun…he insisted that we go to the principal’s office and make her one too.  He even opted to ride home with Mommy instead of riding the bus…I think that’s proof that I did him proud!  😉


Posted on Leave a comment

My Little Pony Party

A couple weeks ago I had the privilege of doing both face painting and balloons for a super fun My Little Pony themed birthday party! I had a blast and the kids sure seemed to be having a great time too!

For face painting, I had a nice variety in my design menu that included full face designs, as well as mask designs and single eye designs. However, EVERY girl at the party wanted a cheek art design!  They still turned out really cute…just goes to show ‘ya that cheek art isn’t dead!!  I’m still kicking myself for not getting any photos of “Rainbow Dash.”  For her I used my TAG rainbow one-stroke cake for her hair which was really slick, and some of my Paradise brilliant blues.  Unfortunately the birthday girl didn’t want her face painted! So, I did lots of extra special balloons for her instead, including a crown to wear.

Cheek Art

 For balloons, many of the girls wanted simple flowers!  I did a few special My Little Pony designs for the birthday girl, complete with the little designs they have on their rumps…

“Apple Jack”

One girl asked for a fairy, and I did one of my fairy design with some wings added (with a clear balloon).  It turned out really cute and got a lot of “oooh’s” and “aaahhh’s” from the crowd!

Overall I think the party went well and everyone had tons of fun! It was during our week of record breaking cold, so I think the kids enjoyed having a little extra colorful fun in their weekend!